ADVERTISEMENT
Observe the Change: Once the sugar has dissolved, keep a close eye on the syrup. It will start to bubble after a minute or two. The bubbles will get bigger and then smaller as the water evaporates.
Seek the Golden Hue: After 4-5 minutes, the syrup will turn into a beautiful amber color. This is the caramel stage you’re aiming for.
Cool it Down: Immediately remove from heat. Slowly pour in the heavy cream while whisking continuously. Be cautious, as the mixture will bubble vigorously.
Add Flavors: Whisk in the vanilla extract and a pinch of salt until you have a smooth, silky caramel.
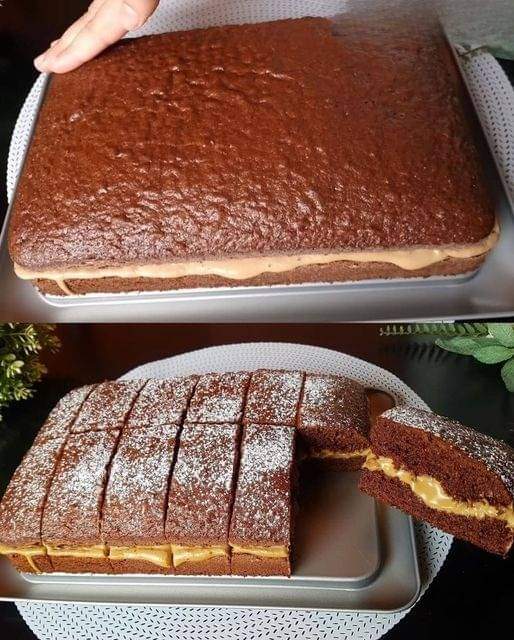
Serve and Impress: Drizzle over ice cream, pancakes, or any dessert of your choice. Enjoy the delightful taste of your homemade 6-minute caramel!
Expert Tips:
Pan Choice Matters: Using a light-colored pan can help you see the color change more easily.
Safety First: Caramel can burn quickly and is extremely hot. Always exercise caution.
Crystallization Woes: If you notice the sugar crystallizing on the sides of the pan, brush it down with a wet pastry brush.
The Secrets Behind Perfect 6-Minute Caramel:
The Sugar-Water Ratio: The combination of sugar and water is crucial. Too much water can dilute the caramel, while too little can cause burning.
Constant Vigilance: Keeping a watchful eye is essential. The transition from clear syrup to amber caramel can be quick.
Temperature Control: Ensure your burner maintains a consistent medium-high heat. Too hot, and you risk burning; too low, and it won’t caramelize in 6 minutes.
Serving Suggestions:
Decadent Breakfast: Drizzle over waffles, pancakes, or French toast and top with fresh berries.
Dessert Time: Enhance the flavor of brownies, cheesecakes, or puddings by adding a caramel layer.
Drink Enhancer: Add a spoonful to your coffee or hot chocolate for a caramel twist.
ADVERTISEMENT
