ADVERTISEMENT
Step 1: Combine the Dry Ingredients
Mix the dry ingredients: In a medium-sized mixing bowl, whisk together 1 cup of all-purpose flour and 1/2 teaspoon of salt. Ensure there are no lumps in the flour, as this will help create a smooth batter later.
Step 2: Whisk the Wet Ingredients
Beat the eggs and milk: In a separate bowl, whisk together 2 large eggs and 1 1/4 cups of milk until they are well combined. The mixture should be smooth and slightly frothy.
Step 3: Combine the Wet and Dry Ingredients
Gradually mix: Slowly pour the egg and milk mixture into the flour and salt mixture, whisking constantly. Add the wet ingredients a quarter at a time to prevent lumps. Continue whisking until the batter is smooth and fully combined. Be careful not to overmix, as this can lead to tough crepes.
Step 4: Add the Melted Butter
Incorporate the butter: Stir in 2 tablespoons of melted butter into the batter. This will add richness to the crepes and help prevent them from sticking to the pan.
Step 5: Rest the Batter
Let it rest: Cover the bowl with plastic wrap and refrigerate the batter for at least 1 hour, or ideally overnight. This resting period allows the gluten in the flour to relax, resulting in thinner, more tender crepes. If you notice the batter is too thick after resting, you can thin it with 1-2 tablespoons of milk.
Step 6: Heat the Pan
Prepare the pan: Heat a large non-stick frying pan or a crepe pan over medium heat. Once the pan is warm, add a small amount of butter, swirling it around to evenly coat the bottom. This helps ensure that the crepes don’t stick.
Step 7: Cook the Crepes
Pour the batter: Pour about 1/4 cup of the crepe batter into the hot pan. Immediately tilt and swirl the pan in a circular motion to spread the batter evenly and form a thin, round crepe.
Cook the first side: Let the crepe cook for 30 seconds to 1 minute, or until the edges begin to brown and the top of the crepe looks set.
Flip the crepe: Carefully flip the crepe using a spatula, or with your fingers if you’re comfortable. Cook the second side for another 30 seconds or until lightly golden.
Step 8: Serve and Enjoy
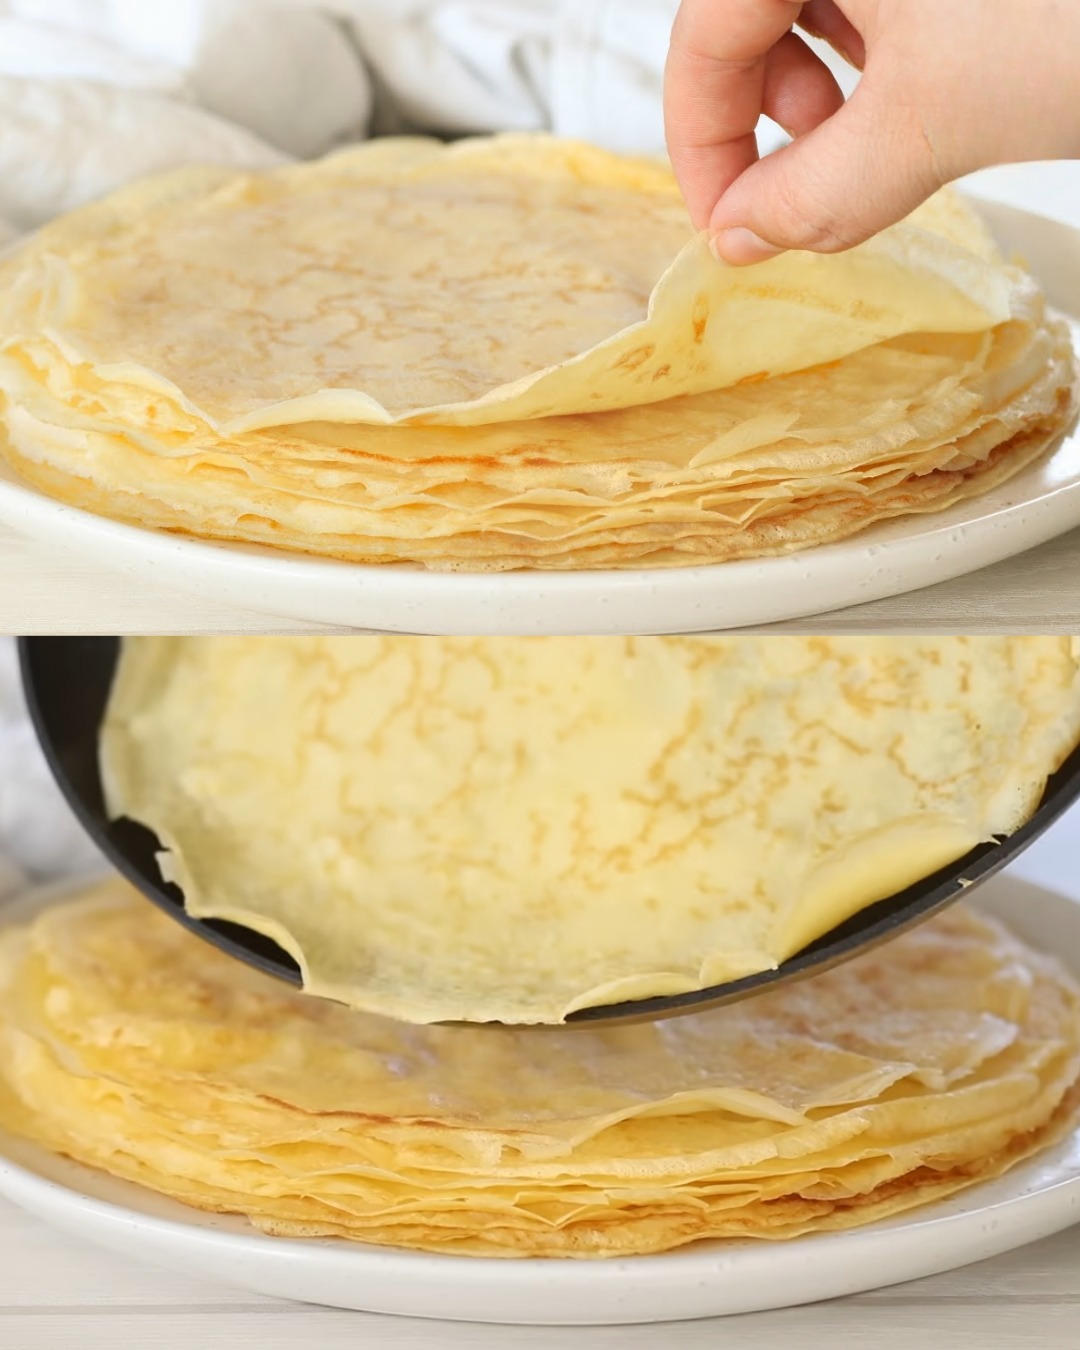
Repeat the process: Transfer the cooked crepe to a plate and cover to keep warm. Continue cooking the remaining batter, adding more butter to the pan as needed.
Fill the crepes: Once all the crepes are cooked, fill them with your favorite fillings. Some popular sweet options include Nutella, whipped cream, and fruit, while savory fillings like ham, cheese, or scrambled eggs are also delicious.
Nutrition Facts (Per Crepe)
Calories: 110
Protein: 4g
Fat: 6g
Carbohydrates: 10g
Fiber: 1g
Sugar: 1g
Sodium: 180mg
Note: Nutritional values may vary based on the specific ingredients and fillings used.
FAQs
- Can I make the batter ahead of time?
Yes, the batter can be made ahead of time and stored in the refrigerator for up to 24 hours. This also allows the batter to rest, which helps create thinner and more tender crepes. - How can I prevent the crepes from sticking to the pan?
Make sure to use a non-stick pan and a small amount of butter to coat the surface before each crepe. If your crepes are still sticking, try increasing the heat slightly or adding a little more butter. - Can I freeze crepes?
Yes, crepes freeze well. Stack the cooked crepes with parchment paper between each one and place them in a freezer-safe bag. They can be frozen for up to 2 months. To reheat, thaw in the fridge and warm them in a skillet. - What if the batter is too thick?
If the batter seems too thick after resting, simply add 1-2 tablespoons of milk and whisk it in until the consistency is thinner.
Tips for Making the Perfect Crepes
Rest the batter: Allowing the batter to rest in the refrigerator helps produce lighter, more tender crepes by giving the gluten time to relax.
Swirl the pan: When pouring the batter into the pan, immediately tilt and swirl the pan to ensure the batter spreads evenly into a thin layer.
Don’t overcook: Crepes cook quickly, so keep an eye on them. Flip them as soon as the edges start to brown and the top is set.
Keep them warm: To keep crepes warm while you cook the rest of the batch, stack them on a plate and cover them with a clean kitchen towel or place them in a low-temperature oven (200°F/93°C).
Storage Tips
Refrigeration: Leftover crepes can be stored in an airtight container in the refrigerator for up to 3 days. Reheat them in a skillet or microwave before serving.
Freezing: Crepes can be frozen by stacking them with parchment paper between each one, then storing them in a freezer-safe bag. Freeze for up to 2 months. Thaw in the fridge before reheating.
Reheating: To reheat, warm the crepes in a skillet over low heat or in the microwave for 15-20 seconds.
Conclusion
These Classic French Crepes are a versatile and delicious dish that can be enjoyed in countless ways. Whether you prefer sweet or savory fillings, the soft and thin crepes provide a perfect base for any meal. With a few simple ingredients and a little patience, you can easily create these delicate crepes at home. Be sure to rest the batter for the best results and enjoy experimenting with different fillings to suit your taste! Bon appétit!
ADVERTISEMENT
